Adding images
Adding
Click Add to start adding images to the project. The add dialog will pop up:
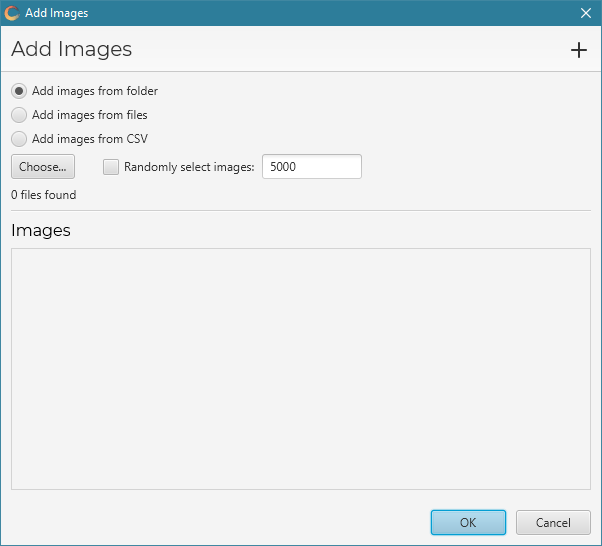
There are three options:
From folder
Select Add images from folder to add images from a folder and its subfolders. Click Choose… to select the folder.
From files
Select Add images from files to add individual images. Click Choose… to select the files.
From CSV
Select Add images from CSV to add images from information contained in a CSV. Click Choose… to select the CSV.
The CSV must contain a column with the header file, filename, or dossier. The entries in this column must be the full path to the image, as the images will be loaded from this location.
If the CSV contains any columns with the headers sample, label, score, index1, index2, resolution or guid, the information from these columns will the added to the particle metadata. See Glossary for the meanings.
All other information in the CSV will be added to the particle parameters metadata.
Note
Use Add images from CSV to add the CSV created by the Flowcam Segmenter script. This will then add all the Flowcam morphology and other parameters for the image.
Random selection
You can add only a random selection of images (e.g. if the number is too large) by checking Randomly select images and entering the number of images in the adjacent text box.
Once images have been selected, they will appear in the the dialog window:
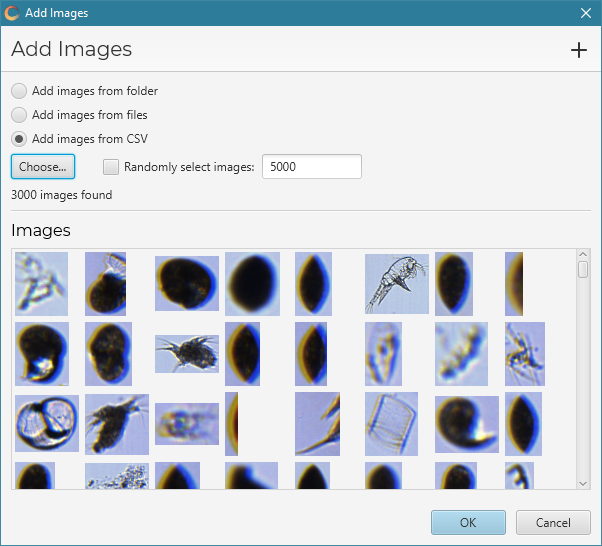
Click OK to add the images.
Metadata
Once added, the Update Metadata dialog will appear, allowing you to set the metadata of the added images.
On the left you can set the sample, index 1, index 2 and resolution values for the images. Leaving an input box blank will ignore that metadata and leave the value for the images unchanged.
On the right is a more complex interface for extracting the metadata from the image path.
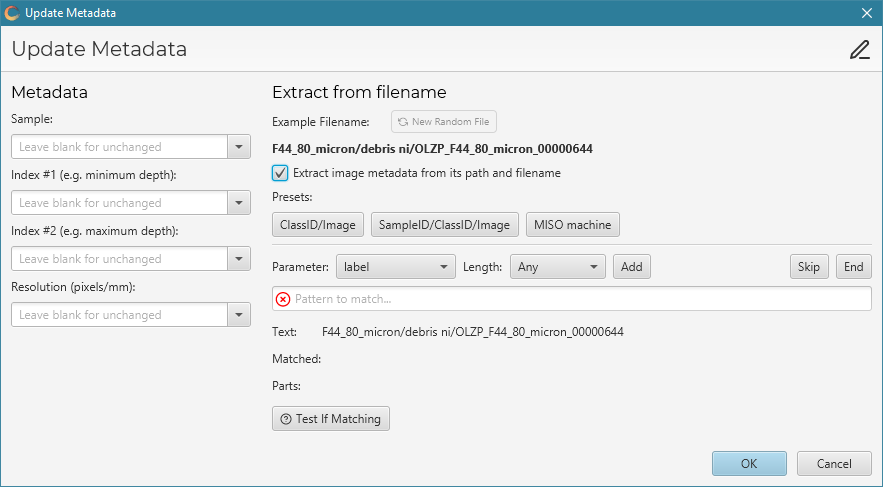
Ticking Extract image metadata from its path and filename will enable this feature.
It works by trying to match parts of the filename and path to the main particle metadata of label, sample, index1, index2, and GUID.
The path used is the filename and the previous two directories. E.g. if the path to a file is
C:\Users\rossm\Data\OLZO\images\F44_80_micron\copepode\OLZO_F44_80_micron_00000135.png
the part that will be used to match is
F44_80_micron/copepode/OLZO_F44_80_micron_00000135.png
NOTE: backslashes `` are changed to forward slashes `/` for consistency between Windows and macOS / Linux machines.
In this path, the root directory is the sample, the parent directory is the label of the image, and filename is a unique value. We can match the sample and label using the following pattern:
$sample$/$label$/$skip$
The $ signs delineate a metadata parameter. Possible values are:
$label$
$sample$
$index1$
$index2$
$GUID$
There are two other tokens that can be used:
$skip$ is used to skip a part of the path.
$end$ matches the remainder of a path.
By default, the parameters will match including the ‘_’ or dash ‘-’ characters.. This can be difficult if for example, the sample or label contains underscores which are also used to separate other information. For example, consider the path:
MD972138_v2/images/MD972138_fragment_round_100_101_0001385.png
In this MD972138 is the sample, and fragment_round is the label. The correct matching pattern is:
$sample$_$skip$/$skip$/$skip$_$label$_$skip$_$skip$_$end$
Notice the multiple $skip$ and ‘_’ values around the $label$. This is needed to match the last part of the filename. If instead the following pattern was used:
$sample$_$skip$/$skip$/$skip$_$label$_$end$
The label would be matched as fragment_round_100_101 which is incorrect.
A green tick will appear next to the pattern input box if the pattern matches the entire path correctly, a red cross will apear if it doesn’t. Click New random file to show a new filename from the added images, and Test if matching to test if the pattern matches for all the filenames.
Click OK to update the metadata, or if you do not want to change anything, click Cancel